Abstract
Gemini LLM, now a Vertex AI/Studio API, unlocks easy document summarization and image analysis via Google Apps Script. This report details an example script for automatically creating the description of the files on Google Drive and highlights seamless integration options with API keys.
Introduction
Recently, the LLM model Gemini has been released and is now available as an API on Vertex AI and Google AI Studio. Ref and Ref This report presents a simple Google Apps Script example for automatically creating descriptions of files on Google Drive using the Gemini Pro API. It is considered that when the description of files on Google Drive can be easily created, it will help users manage a lot of files.
Gemini Pro API can be readily used with either an API key or an access token, making it readily accessible for Google Apps Script integration. This ease of use opens up exciting possibilities for various applications leveraging generative AI within Google Apps Script. This report serves as a practical example of such integration, aiming to guide you through the process of using Gemini Pro API effectively.
Usage
In order to test this script, please do the following flow.
1. Create an API key
Please access https://makersuite.google.com/app/apikey and create your API key. At that time, please enable Generative Language API at the API console. This API key is used for this sample script.
This official document can be also seen. Ref.
2. Create a Google Apps Script project
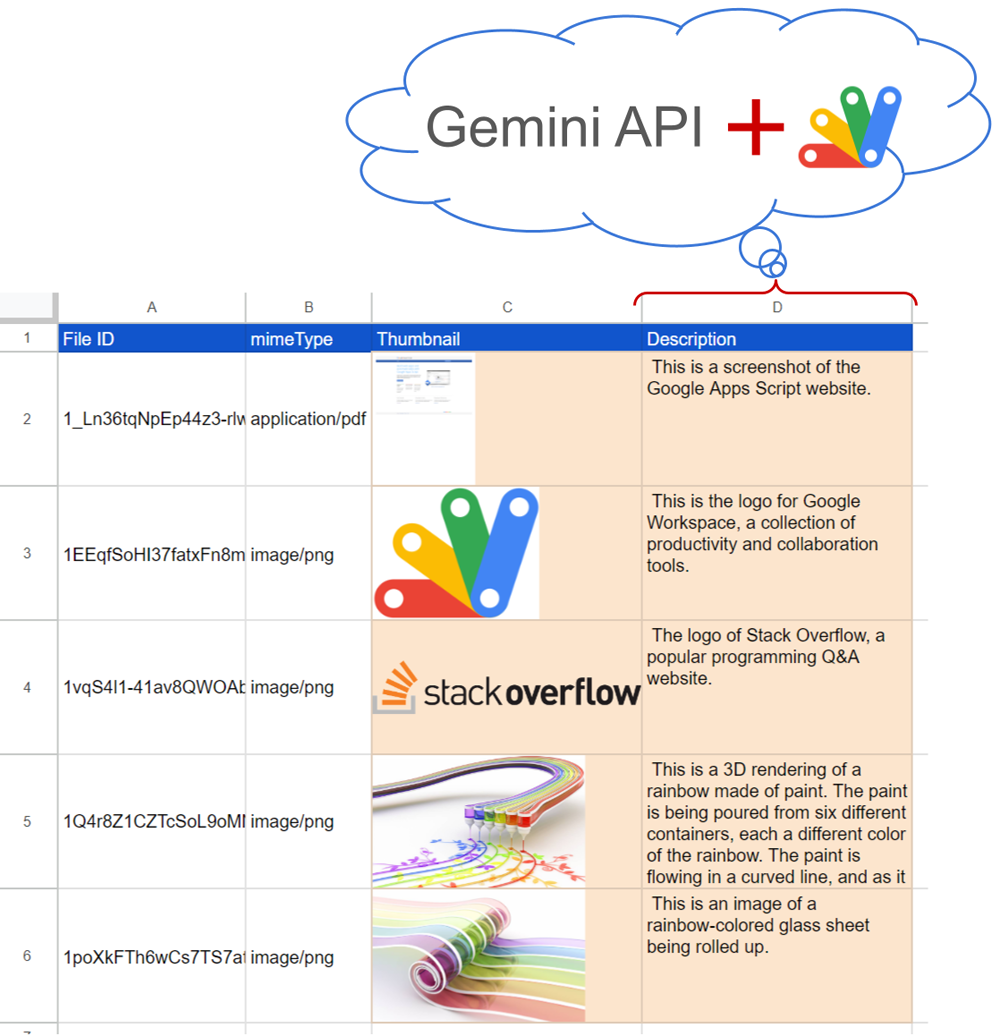
Please create a Google Spreadsheet. And put some file IDs to cell “A2:A”. The sample situation can be seen in the top image.
This is a sample script. So, when you set a lot of file IDs, all files might not be able to be processed. Please be careful about this.
And, please open the script editor of Google Spreadsheet.
3. Enable API
Please enable Drive API v3 at Advanced Google services. Ref In the current stage, Drive API can be selected v2 and v3. In this sample, Drive API v3 is used. Please be careful about this.
4. Sample script 1
In this sample, the descriptions of PDF and image files are automatically created.
At the top image of the sample situation, a sample PDF was created by converting the site of https://www.google.com/script/start/. Those sample images are from this page.
Please copy and paste the following script to the script editor. And, please set your API key and your sheet name, and save the script. In this sample, I used Method: models.generateContent.
In order to analyze the image data, it is given as base64 data to Gemini API.
This sample script uses v1beta. If the version is changed, please modify the endpoint. Also, please confirm the specifications of the new version.
/**
 * ### Description
 * Generate text from text and image.
 *
 * @param {Object} object Object including API key, text, mimeType, and image data.
 * @return {String} Generated text.
 */
function getResFromImage_(object) {
  const { apiKey, text, mime_type, data } = object;
  const url = `https://generativelanguage.googleapis.com/v1beta/models/gemini-pro-vision:generateContent?key=${apiKey}`;
  const payload = {
    contents: [{ parts: [{ text }, { inline_data: { mime_type, data } }] }],
  };
  const options = {
    payload: JSON.stringify(payload),
    contentType: "application/json",
  };
  const res = UrlFetchApp.fetch(url, options);
  const obj = JSON.parse(res.getContentText());
  if (obj.candidates.length > 0 && obj.candidates[0].content.parts.length > 0) {
    return obj.candidates[0].content.parts[0].text;
  }
  return "No response.";
}

// This function retrieves file IDs from column "A" of Spreadsheet, and put the response values into columns "C" and "D".
function sample1() {
  const apiKey = "###"; // Please set your API key.
  const sheetName = "Sheet1"; // Please set your sheet name.

  const sheet = SpreadsheetApp.getActiveSpreadsheet().getSheetByName(sheetName);
  const range = sheet.getRange("A2:A" + sheet.getLastRow());
  const fileIds = range.getValues();
  const token = ScriptApp.getOAuthToken();
  const values = fileIds.map((id) => {
    const url = `https://drive.google.com/thumbnail?sz=w1000&id=${id}`;
    const bytes = UrlFetchApp.fetch(url, {
      headers: { authorization: "Bearer " + token },
    }).getContent();
    const base64 = Utilities.base64Encode(bytes);
    const description = getResFromImage_({
      apiKey,
      text: "What is this image?",
      mime_type: "image/png",
      data: base64,
    });
    console.log(description);
    if (description == "No response.") return;
    Drive.Files.update({ description }, id);
    const image = SpreadsheetApp.newCellImage()
      .setSourceUrl(`data:image/png;base64,${base64}`)
      .build();
    return [image, description];
  });
  range.offset(0, 2, values.length, values[0].length).setValues(values);
}

// This sample script retrieves the response from a single file.
function sample2() {
  const apiKey = "###"; // Please set your API key.
  const fileId = "###"; // Please set your file ID.

  const url = `https://drive.google.com/thumbnail?sz=w1000&id=${fileId}`;
  const bytes = UrlFetchApp.fetch(url, {
    headers: { authorization: "Bearer " + ScriptApp.getOAuthToken() },
  }).getContent();
  const base64 = Utilities.base64Encode(bytes);
  const description = getResFromImage_({
    apiKey,
    text: "What is this image?",
    mime_type: "image/png",
    data: base64,
  });
  console.log(description);
  if (description == "No response.") return;
  Drive.Files.update({ description }, fileId);
}
Testing
- When you run the function
sample1, the file IDs are retrieved from column “A” of the Spreadsheet, and the response values are put into columns “C” and “D”, and also, the retrieved description is set to the file. You can see the result situation in the top image. - When you use the function
sample2, the response value is retrieved from a single file, and also, the retrieved description is also set to the file. - In this sample, the thumbnail image of the file is used. Basically, the thumbnail images can be retrieved from all files on Google Drive using the file ID. So, when this method is used, the descriptions of all files can be retrieved. When you want to simply summarize the files on Google Drive, this method might be useful.
- But, for example, if PDF data including multiple pages is used, only the 1st page is used as the thumbnail. If you want to use all pages, giving all texts from the PDF data might be suitable.
5. Sample script 2
In this sample, the description of a Google Document is automatically created. In the case of Google Documents, the text of the Document can be simply used.
Please copy and paste the following script to the script editor. And, please set your API key and your Google Document ID, and save the script. In this sample, I used Method: models.generateContent.
This sample script uses v1beta. If the version is changed, please modify the endpoint. Also, please confirm the specifications of the new version.
/**
 * ### Description
 * Generate text from text.
 *
 * @param {Object} object Object including API key and text.
 * @return {String} Generated text.
 */
function getResFromText_(object) {
  const { apiKey, q, text } = object;
  const url = `https://generativelanguage.googleapis.com/v1beta/models/gemini-pro:generateContent?key=${apiKey}`;
  const payload = { contents: [{ parts: [{ text: q }, { text }] }] };
  const options = {
    payload: JSON.stringify(payload),
    contentType: "application/json",
  };
  const res = UrlFetchApp.fetch(url, options);
  const obj = JSON.parse(res.getContentText());
  if (obj.candidates.length > 0 && obj.candidates[0].content.parts.length > 0) {
    return obj.candidates[0].content.parts[0].text;
  }
  return "No response.";
}

// Please run this function.
function sample3() {
  const apiKey = "###"; // Please set your API key.
  const documentId = "###"; // Please set your Google Document ID.

  // Retrieve texts from Google Document.
  const text = DocumentApp.openById(documentId).getBody().getText();
  const description = getResFromText_({
    apiKey,
    q: "Summarize the following text within 100 words and output only result.",
    text,
  });
  if (description == "No response.") return;
  Drive.Files.update({ description }, documentId);
}
Testing
In order to test this, I used a Google Document of the manuscript for this blog. The demonstration of this result is as follows.
The generated text is as follows.
Google Docs footnotes can be managed using Google Apps Script. Detailed instructions are provided on retrieving, removing, updating, and creating footnotes. A sample script is included for each task. Retrieving footnotes returns an array of their contents and allows for moving the cursor to a specific footnote. Removing footnotes deletes a specific footnote. Updating footnotes allows for changes in their content while preserving styles. Creating footnotes, unsupported by the Document service, is achieved using Google Docs API.
In this case, 77 words are used. In this case, when you run the script again, a different result is returned with the default setting. When you want to details summarize the Google Documents, this method might be useful.
By the way, in this sample, all texts in the Google Document are used. If the script of sample2 in the 1st section is used by replacing fileId with the Google Document ID of this sample, the following result is obtained.
This is a screenshot of a Google Document that explains how to manage footnotes in Google Docs using Google Apps Script.
It is considered that when the text of the question is changed, the response value will be changed.
Note
-
In the current stage, Gemini Pro API can be requested 60 times in 1 minute as the default. Ref Please be careful about this.
-
In this report, as a simple script, a small number of files is used for each script. Of course, you can create a script for automatically creating the descriptions by scanning a lot of files. At that time, please be careful about the above quota and the process time.