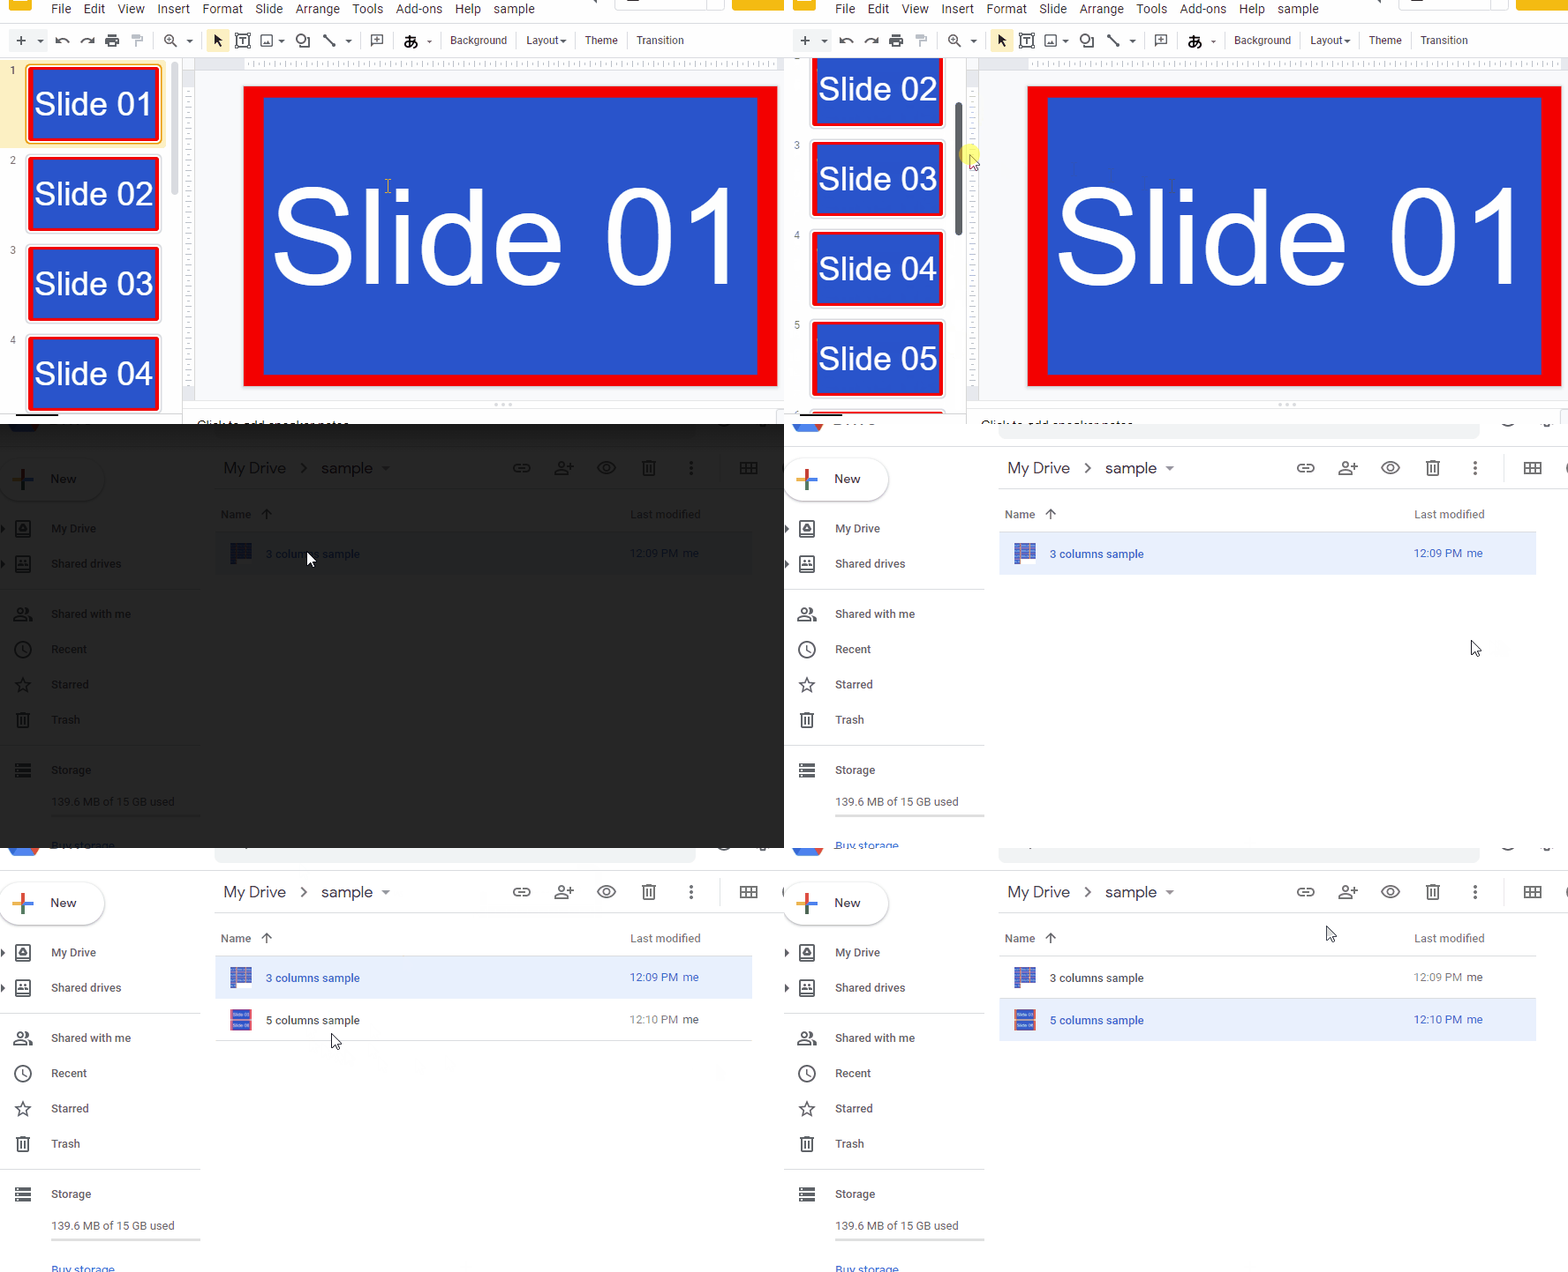
This is a sample script for creating the custom grid view of Google Slides as an image using Google Apps Script.
Demo

Usage
In order to use this script, please do the following flow.
1. Install GAS library
This sample script uses a library of DocsServiceApp. So please install DocsServiceApp. You can see the method for installing it at here.
2. Enable APIs
This sample script uses 2 APIs of Drive API and Slides API. So please enable them at Advanced Google services. Ref
3. Sample script
Please copy and paste the following script and set the variable of obj. And, please run main() at the script editor. By this, all slides in the Google Slides of obj.presentationId are retrieved and create the custom grid view, and it is saved as an PNG image to the root folder.
function main() {
  // Please set object for creating image.
  const obj = {
    filename: "sample.png", // Filename of output file. In the current stage, the file is saved as PNG format.
    width: 1000, // Image width of output image. The unit is pixel. The height is automatically set by the number of slides.
    horizontalSlides: 3, // Number of slides for one row.
    margin: 50, // Margin of each slide. The unit is pixel. If you are not required to use the margin, please remove this property.
    presentationId: "###", // Google Slides ID you want to use.
  };

  // 1. Retrieve all slides from the Google Slides as images.
  const s = SlidesApp.openById(obj.presentationId);
  const slidesAsImageObj = s.getSlides().map((e) =>
    Slides.Presentations.Pages.getThumbnail(
      obj.presentationId,
      e.getObjectId(),
      {
        "thumbnailProperties.mimeType": "PNG",
        "thumbnailProperties.thumbnailSize": "LARGE",
      }
    )
  );
  const imageObj = UrlFetchApp.fetchAll(
    slidesAsImageObj.map(({ contentUrl }) => contentUrl)
  ).map((e, i) =>
    e.getResponseCode() == 200
      ? {
          blob: e.getBlob(),
          width: slidesAsImageObj[i].width,
          height: slidesAsImageObj[i].height,
        }
      : null
  );
  if (imageObj.some((e) => e == null))
    throw new Error("Slide cannot be retrieved as the image.");
  const ar = [];
  while (imageObj.length > 0) {
    ar.push(imageObj.splice(0, obj.horizontalSlides));
  }
  if (!obj.hasOwnProperty("margin")) obj.margin = 0;
  const maxWidth = Math.max(
    ...ar.map(
      (r) =>
        r.reduce((w, { width }) => (w += width), 0) +
        obj.margin * (r.length - 1)
    )
  );
  const maxHeight =
    ar.reduce((h, r) => (h += Math.max(...r.map(({ height }) => height))), 0) +
    obj.margin * (ar.length - 1);

  // 2. Create new Google Slides with the custom page size using DocsServiceApp. This is used as the temporal Slides.
  const object = {
    title: "sample title", // Title of created Slides.
    width: { unit: "pixel", size: maxWidth },
    height: { unit: "pixel", size: maxHeight },
  };
  const presentationId = DocsServiceApp.createNewSlidesWithPageSize(object);

  // 3. Arrange each slide image to the 1st slide.
  const temps = SlidesApp.openById(presentationId);
  const slide = temps.getSlides()[0];
  let top = 0;
  ar.forEach((r) => {
    let left = 0;
    let maxH = 0;
    r.forEach(({ blob, width, height }) => {
      slide.insertImage(blob, left, top, width * 0.75, height * 0.75);
      left += (width + obj.margin) * 0.75;
      maxH = height > maxH ? height : maxH;
    });
    top += (maxH + obj.margin) * 0.75;
  });
  temps.saveAndClose();

  // 4. Output the image file.
  const tempObj = Slides.Presentations.Pages.getThumbnail(
    presentationId,
    slide.getObjectId(),
    {
      "thumbnailProperties.thumbnailSize": "LARGE",
      "thumbnailProperties.mimeType": "PNG",
    }
  );
  const url = tempObj.contentUrl.replace(/=s\d+/, "=s" + obj.width);
  const resultBlob = UrlFetchApp.fetch(url).getBlob().setName(obj.filename);
  DriveApp.createFile(resultBlob);
  DriveApp.getFileById(presentationId).setTrashed(true);
}
Another sample script
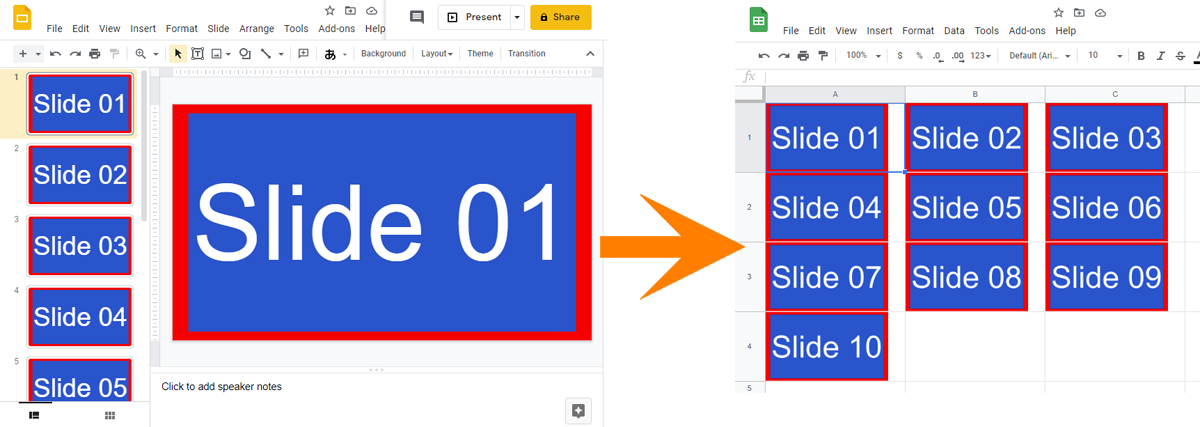
This is a sample script for creating the custom grid view of Google Slides as a Spreadsheet using Google Apps Script. In this sample script, all slides in a Google Slides are put to the cells on Google Spreadsheet as the images using Google Apps Script.
Demo

Usage
In order to use this script, please do the following flow.
1. Install GAS library
This sample script uses a library of DocsServiceApp. So please install DocsServiceApp. You can see the method for installing it at here.
2. Enable APIs
This sample script uses 3 APIs of Drive API, Slides API and Sheets API. So please enable them at Advanced Google services. Ref
3. Sample script
function myFunction() {
  // Please set object for creating image.
  const obj = {
    spreadsheetId: "###", // Spreadsheet ID of Spreadsheet that the each slide image is put.
    horizontalSlides: 3, // Number of slides for one row.
    presentationId: "###", // Google Slides ID you want to use.
  };

  const s = SlidesApp.openById(obj.presentationId);
  const slidesAsImageObj = s.getSlides().map((e) =>
    Slides.Presentations.Pages.getThumbnail(
      obj.presentationId,
      e.getObjectId(),
      {
        "thumbnailProperties.mimeType": "PNG",
        "thumbnailProperties.thumbnailSize": "MEDIUM",
      }
    )
  );
  const imageObj = UrlFetchApp.fetchAll(
    slidesAsImageObj.map(({ contentUrl }) => contentUrl)
  ).map((e, i) =>
    e.getResponseCode() == 200
      ? {
          blob: e.getBlob(),
          width: slidesAsImageObj[i].width,
          height: slidesAsImageObj[i].height,
        }
      : null
  );
  if (imageObj.some((e) => e == null))
    throw new Error("Slide cannot be retrieved as the image.");
  const ar = [];
  while (imageObj.length > 0) {
    ar.push(imageObj.splice(0, obj.horizontalSlides));
  }
  const object = ar.flatMap((r, i) =>
    r.map(({ blob }, j) => ({
      blob: blob,
      range: { row: i + 1, column: j + 1 },
    }))
  );
  DocsServiceApp.openBySpreadsheetId(obj.spreadsheetId)
    .getSheetByName("Sheet1")
    .insertImage(object);
}
Note
- The important point of this sample script is to create new Google Slides by giving the page size. But in the current stage, this cannot be directly achieved using Slides service and Slides API. So I created DocsServiceApp.