This is a sample script for simply editing the texts of texts boxes on Google Slides using Google Apps Script. The supposed situation is as follows.
- Google Slides has several text boxes of the same size and the same position.
- You want to retrieve the list of texts from the text boxes and want to change the texts using a simpler method.
In this case, I thought that when the sidebar created by Google Apps Script is used for changing the texts, your goal might be able to be simply achieved.
The usage of this sample script is as follows.
Usage:
1. Prepare script:
Please copy and paste the following script to the script editor of Google Slides and save the script. And then, please reopen the Google Slides. By this, the custom menu “sample” is created for the Google Slides. When “RUN” in the custom menu “sample” is opened, the script is run.
Code.gs
Please copy and paste this script as Code.gs.
function onOpen() {
  SlidesApp.getUi()
    .createMenu("sample")
    .addItem("RUN", "openSidebar")
    .addToUi();
}

function openSidebar() {
  const html = HtmlService.createHtmlOutputFromFile("index").setTitle("sample");
  SlidesApp.getUi().showSidebar(html);
}

function getSelectedShapes() {
  const select = SlidesApp.getActivePresentation().getSelection();
  const pageElementRange = select.getPageElementRange();
  if (pageElementRange) {
    const obj = pageElementRange
      .getPageElements()
      .reduce((ar, e) => {
        if (e.getPageElementType() == SlidesApp.PageElementType.SHAPE) {
          const shape = e.asShape();
          ar.push({
            objectId: shape.getObjectId(),
            text: shape.getText().asString().trim(),
          });
        }
        return ar;
      }, [])
      .reverse();
    return obj;
  }
  return [];
}

function updatedTexts(o) {
  const select = SlidesApp.getActivePresentation().getSelection();
  const slide = select.getCurrentPage();
  const obj = slide.getShapes().reduce(
    (o, e) =>
      Object.assign(o, {
        [e.getObjectId()]: { shape: e, text: e.getText().asString().trim() },
      }),
    {}
  );
  o.forEach(({ objectId, text }) => {
    if (obj[objectId] && obj[objectId].text != text) {
      obj[objectId].shape.getText().setText(text);
    }
  });
  return "Done";
}
index.html
Please copy and paste this script as index.html.
<input type="button" id="main" value="Get selected shapes" onClick="main()">
<div id="shapes"></div>
<input
  type="button"
  id="update"
  value="Updated texts"
  onClick="updatedTexts()"
  style="display:none"
/>
<script>
  function main() {
    document.getElementById("main").disabled = true;
    document.getElementById("shapes").innerHTML = "";
    google.script.run
      .withSuccessHandler((o) => {
        if (o.length == 0) {
          document.getElementById("update").style.display = "none";
          return;
        }
        const div = document.getElementById("shapes");
        o.forEach(({ objectId, text }) => {
          const input = document.createElement("input");
          input.setAttribute("type", "text");
          input.setAttribute("id", objectId);
          input.setAttribute("value", text);
          div.appendChild(input);
        });
        document.getElementById("update").style.display = "";
        document.getElementById("main").disabled = false;
      })
      .getSelectedShapes();
  }

  function updatedTexts() {
    const inputs = document
      .getElementById("shapes")
      .getElementsByTagName("input");
    const obj = [...inputs].map((e) => ({ objectId: e.id, text: e.value }));
    console.log(obj);
    google.script.run
      .withSuccessHandler((e) => console.log(e))
      .updatedTexts(obj);
  }
</script>
Please save the script after above scripts were copied.
2. Testing:
Please reopen Google Slides. By this, the custom menu is created. Please open “sample” -> “RUN”. By this, the sidebar is opened.
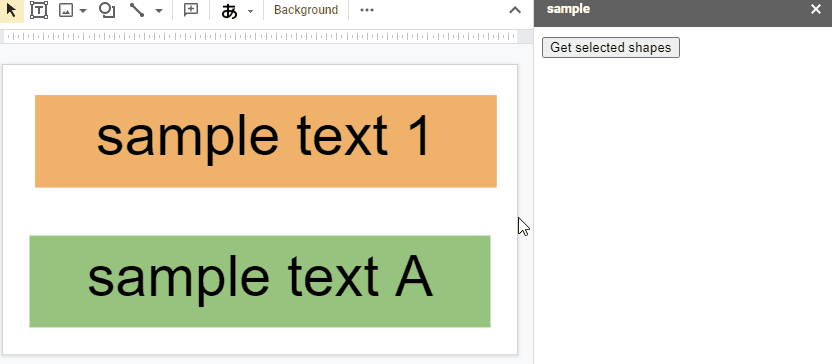
- Please select the text boxes on Google Slides.
- Click “Get selected shapes” button.
- By this, the selected text boxes are retrieved and you can see the texts of text boxes.
- Modify the texts.
- Click “Updated texts” button.
- By this, the modified texts are reflected in the text boxes.
Also, you can see it with the above demonstration movie.
Note:
- This is a simple sample script. So please modify the above script and HTML style for your actual situation.
References:
- Custom sidebars
- This sample script was answered for this thread in Stackoverflow.